|
This week is my sixth and final week of Endersession. Time kinda flew by towards the end, so looking back was tough. I hardly remember my first day let alone anything in between. Throughout this week my screen mostly looked like this. 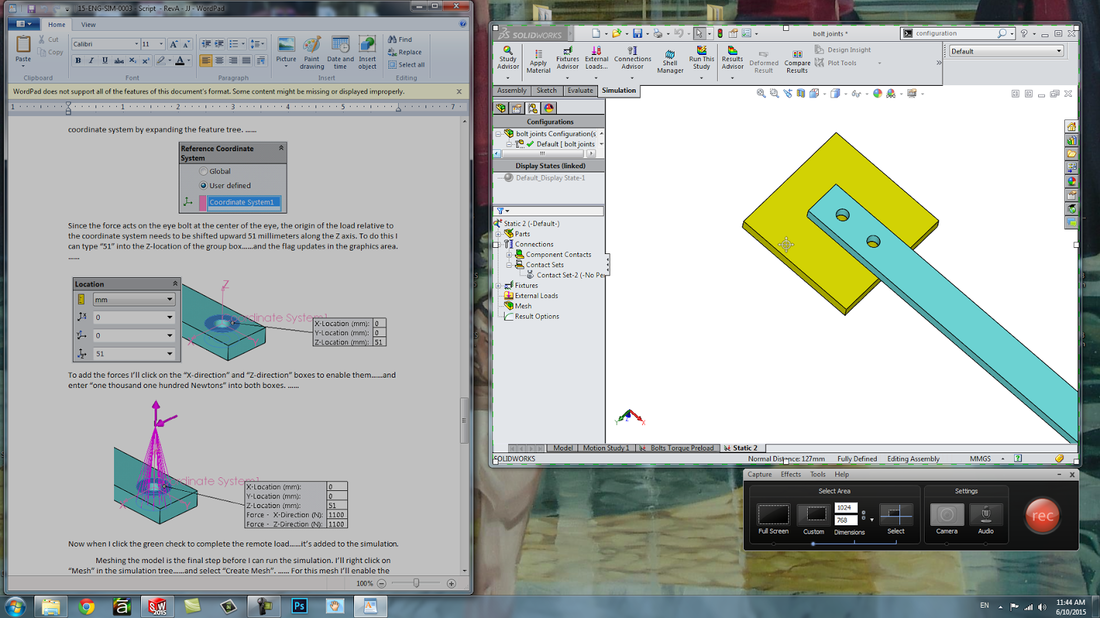 To the left is a script written by my mentor and to the right is Solidworks. I would read the lesson and perform the tasks in solidworks. I would record those clicks in Camtasia, and edit them for use with the voice recording. Once the voice recording has been completed and sent over, I take that clip and sync it up with the voice. The goal is to make it smooth and line up with all of the cues in the audio recording. ReflectionOverall this experience was really eye opening. I honestly wasn't expecting to learn too much because I have experience in Solidworks and I had even completed some Solidprofessor lessons previously through my robotics team. The first couple of days only seemed to reinforce that idea, but then I was introduced to Fusion 360. This up and coming CAD software was really fun to use (and also kinda glitchy). Nevertheless I was happy to learn some new software that will be able to hopefully help me in my future.
I was always a "self taught" Solidworks user, and as with most things, the way you teach yourself and the easiest way dont always aline. After learning some pretty advanced aspects of the software through trial and error, it was a really useful experience going back and learning new, possibly easier ways to complete the same task. My greatest challenge over this internship (besides parking downtown) would probably be working in Camtasia. I am used to editing videos in programs like Final Cut Pro, Premier, or After Effects. Using Camtasia was super strange simply because it couldn't do so many things that I have come to rely on. I had to adapt to a completely different style of editing that I frankly didn't like too much.
0 Comments
This week was focused around Camtasia and the creation of videos using pre recorded audio. The process involves going through the process described in the script in Solidworks (or whatever software is described) and recording the process. The screen recording is then synced with the audio to make it appear that the narrator is completing the lesson. It was extremely important to perform fluid mouse movements and make sure there were no mistakes or issues with the lesson. Below is a screenshot of what the Camtasia interface looks like: 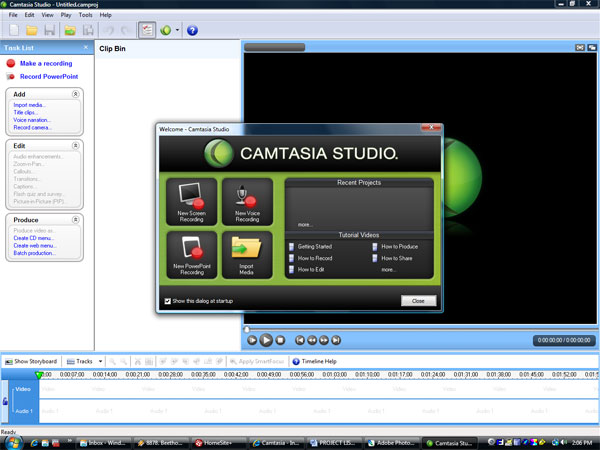 The CSWA (certified Solidworks associate) exam is used to certify ones Solidworks expertise. Similar to a degree, it allows companies to assure someone's knowledge in Solidworks. One of the goals of my internships here at Solidprofessor is to achieve the CSWA status. I have just created my Solidprofessor account and spend Fridays preparing for the exam. Meeting Michelle. This Wednesday I was able to meet with Michelle, the director of public relations at Solidprofessor. I wanted to see what kind of work she completed here, and what kind of hats she wore to work in PR at within small business. It turned out to be very similar to what I did on my Robotics team. She primarily focuses on two aspects of public relations, credibility and expansion. She explained how marketing plays a huge role in building credibility, but in her situation doesn't really assist in getting new clients. Drawing that line between credibility and expansion isn't always easy, but it is essential for their marketing strategy. This week ended with a taste of what Week 6 will be like. My mentor is in the process of creating a new lesson for Solidworks Simulation. The tool is used to simulate scenarios to test if the part will function properly without deforming before possibly wasting materials on its creation. Put simply, I was given scripts that have not yet been voiced over, and told to create the video for the lesson. I have a few more lessons to complete, and it is rather challenging working without a video example of what the lesson should look like. This week was focused around a Solidworks project. This project involved the recreation of a Molding lesson around a new part. The old part was taken from an original Solidworks lesson, so Solidprofessor wanted to create their own model. I was asked to come up with ideas for models that would require the least amount of changes to the script of the lesson. In order to achieve this, I first came up with a list of all the tools the model would need to work with. That list included: Scale, Parting Line, Shut Off Surfaces, Parting Surface, and a Tooling Split. After running through the lesson with a few different parts, I decided a Baking Spatula would work seamlessly with the lesson. Below is my first draft of the Model. Note: All of the screenshots were taken in Fusion 360, but the models were created in 2015 Solidworks. This is because I was unable to take screenshots on the desktop I was using. 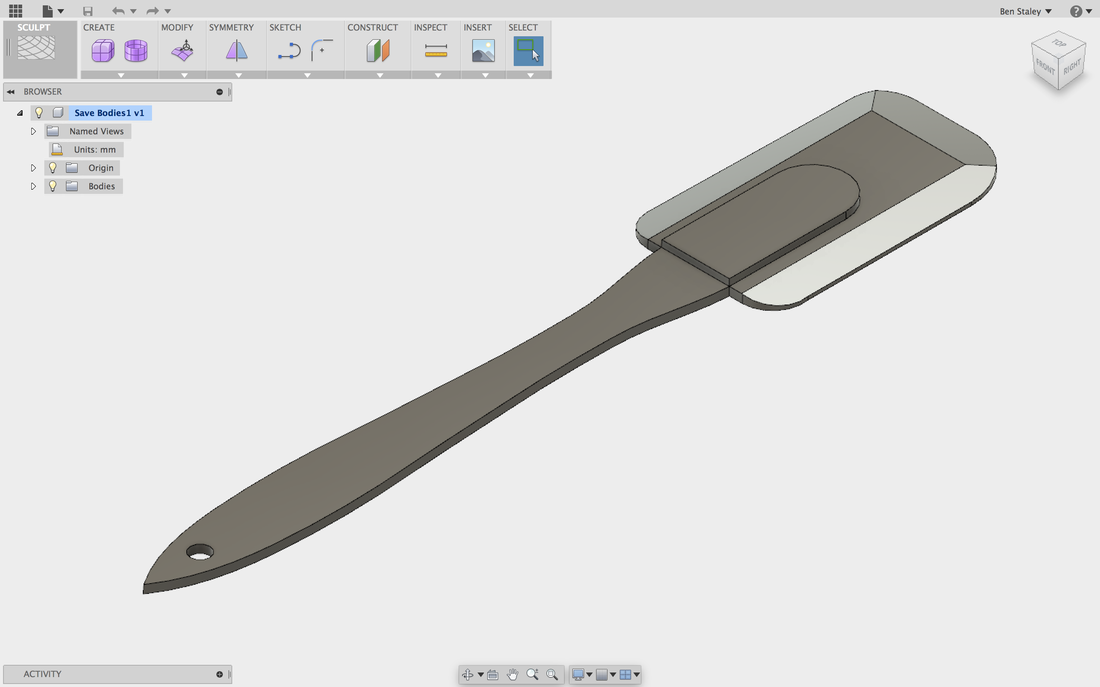 One of the most critical tools solidworks provides for mould creation is Draft Analysis. This analysis the draft of a part and color codes angles of the mould that are positive, negative, or require draft to be created. When creating plastic molds it is important to make sure that the part will be removable from the mould without breaking. The parting line is the line that divides the positive and negative faces of the part into the core and cavity moulds. Solidworks uses the Draft Analysis tool to automatically create a parting line to divide the Mould. In the previous lesson, the parting line was created automatically. Since I needed to create a part that would act the same way as the old part, I needed to make sure the parting line would be created automatically in the right place. To achieve this, I decided to make the division between the positive and negative faces as obvious as possible by mirroring the part. 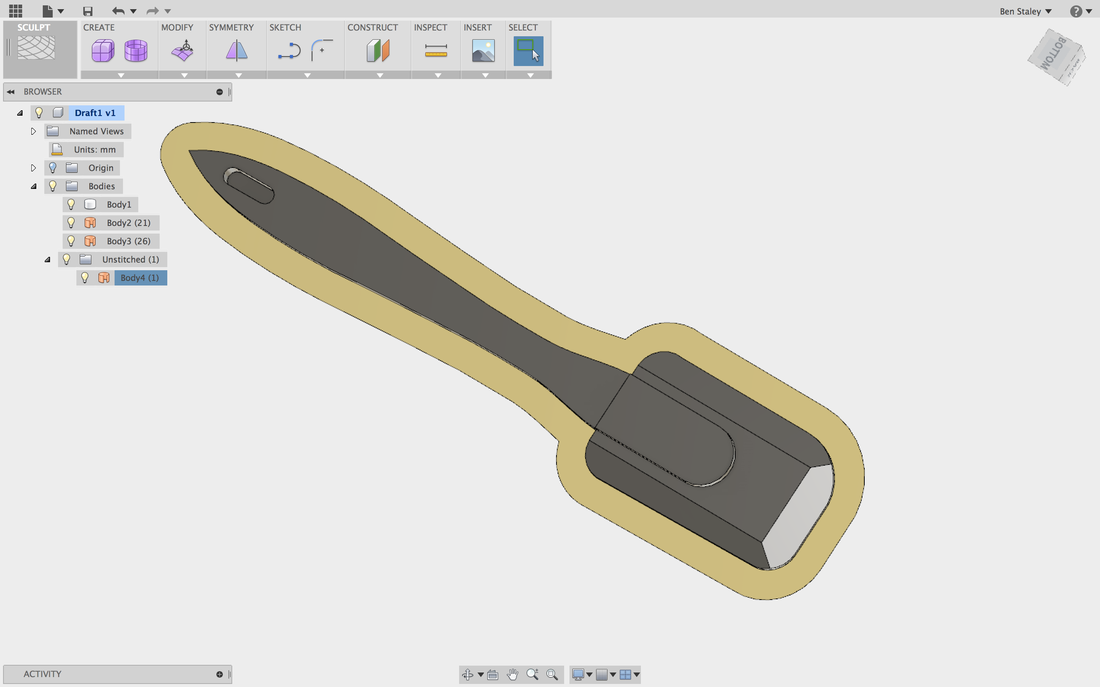 This week focused on the process of taking an image, and producing a model from it. It started out with a Cover Lid mold created by Eplastech. My mentor provided this picture and asked me to create a realistically scaled model in Fusion 360. 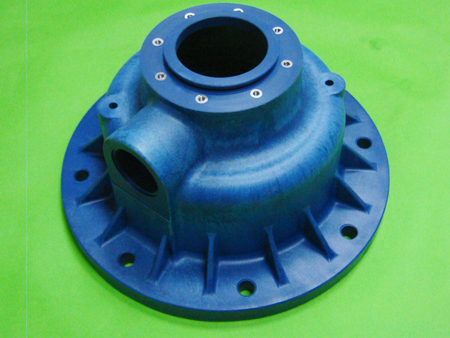 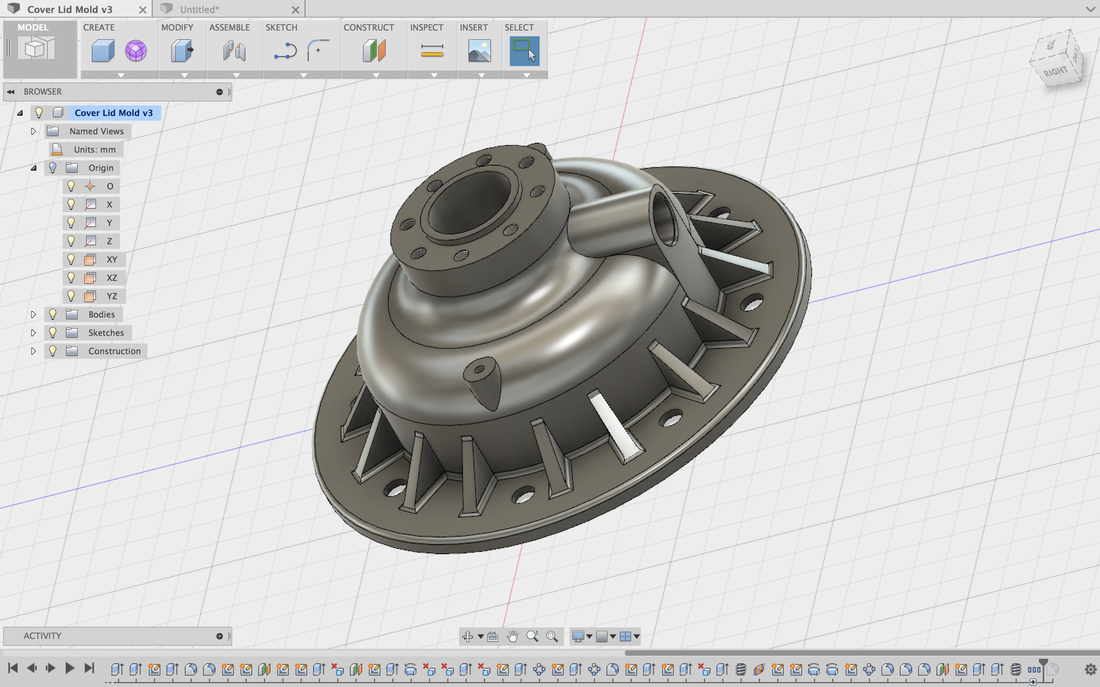 Here is what I was able to create. I modified the part slightly so that it would better fit the lesson it will be used in. Side ProjectOne of my old teachers from High Tech Middle Media Arts requested that I help her with the production of a video. The video is designed to celebrate their High Tech High Inclusion teams and it consists of kids K-12 talking about their inclusion specialists. You can watch the video below. This week began with a quick lesson in Fusion 360. It involved the creation of a part based on an image and it was designed to put all that I had been learning to use. Up until that point all my experience had been following precise instructions provided by the tutorials. Once I was able to start from scratch and design a part more freely, I would be one step closer to starting my own project. Below is the part that I worked on in this process: 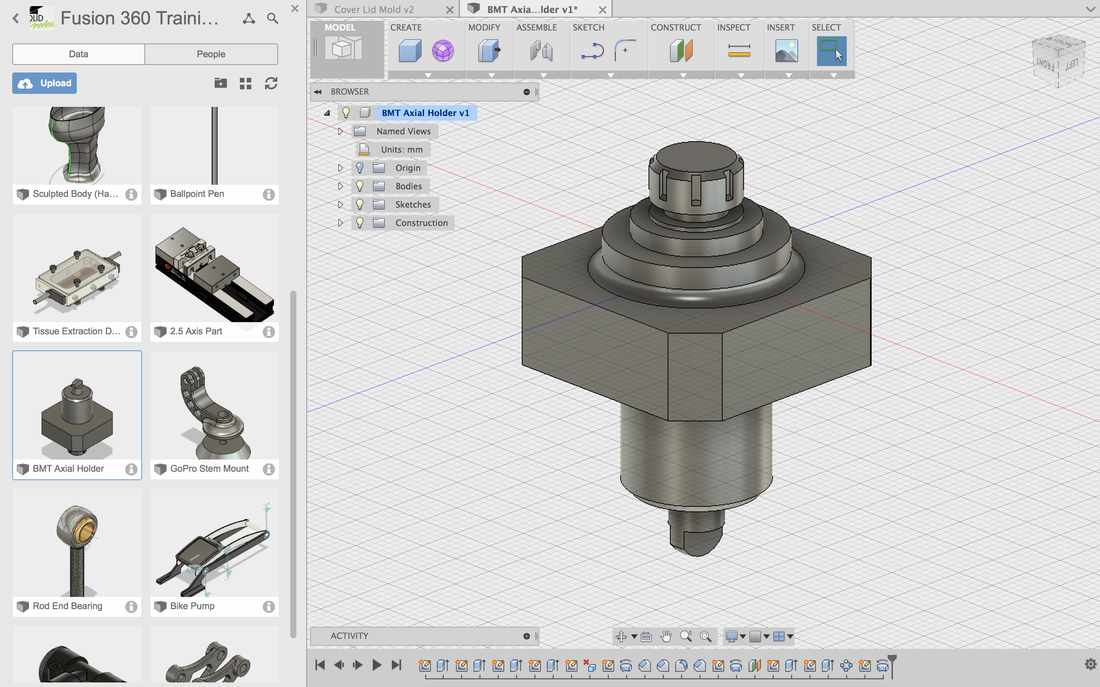 After completing that basic part, I decided to practice designing a part from scratch. I chose one of the simplest things I could think of, a pen. 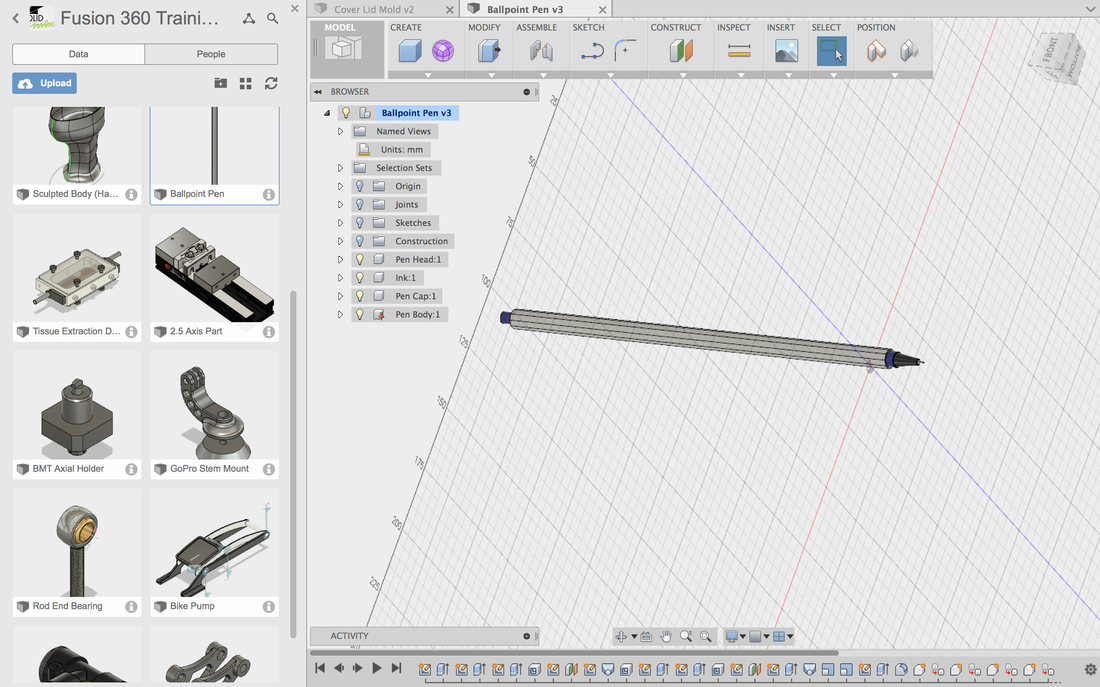 After completing those test projects I was assigned the task of creating a model for use in the actual Fusion 360 lesions. My mentor asked me to produce a mounted Telescope that included motion links so it would be able to move. I based my design of the telescope off one that I found on Grabcad, and designed a tripod to fit it. Here is the final product with the motion links visible. 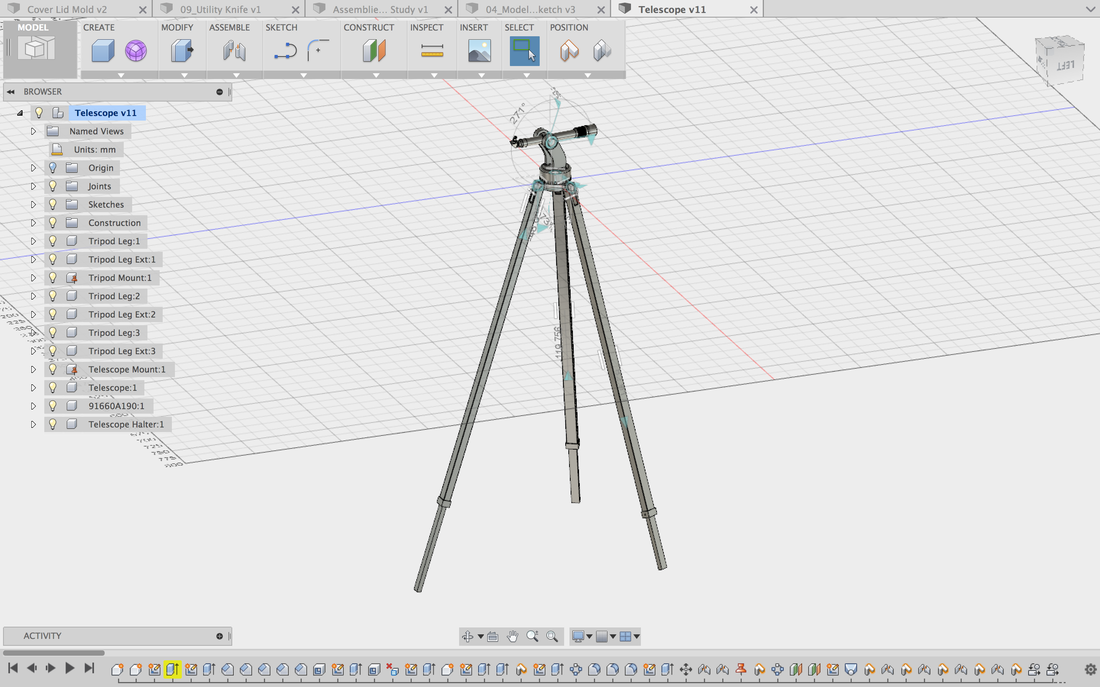 Overall this week was an exciting learning experience for me. Not only was I able to learn a great deal of Fusion 360, but I was able to see how I could apply this knowledge to projects throughout my future. I also am noticing that Fusion 360 is extremely similar to Solidworks. This made the learning curve much shorter because I was able to apply my previous knowledge to this new program. I look forward to the future projects I will complete.
This first week at internship served as a planning period for the next 5 weeks. Coming into this environment was very abrupt for me, I was planning to do some sort of online course + volunteer work over Endersession, but then I was presented with this opportunity. At first the expectations were boundless. There was no clear path for me to follow, all I knew was that they made training videos for Solidworks. I had some experience with Solidworks in the past, and the idea of learning more peaked my interest. It turned out there were many other projects available to me, and I was especially excited about working with new software that they were learning as well. I ended up deciding to help with the creation of new curriculum for a program called Fusion 360. This CAD tool was created by Autodesk, and is used primarily as a creative space for designers of any kind to create items digitally before risking resources in their physical construction. It was crucial to me that I would have some sort of meaningful impact on both the project I was undertaking, and my mindset regarding my passion and future endeavors. Exploring something new seemed like the best way to accomplish this task. After completing some minor tasks involving their Onshape curriculum, I started to explore Fusion 360. I had never officially learned or mastered Solidworks. I am able to create almost anything, however I never learned the “correct” way of doing anything. I had some experience sketching and designing parts with clear instruction and detentions in Solidworks through my robotics team, and I also had some experience designing parts during my internship at the Sanford Burnham Medical Research Inst. Below are some examples of work that I have been doing, and descriptions. Keep in mind that they are all produced from the trainings instruction, and are not my own creations. Below are examples of some of the work that I have been doing. They are all projects from a Fusion 360 tutorial created by Autodesk. 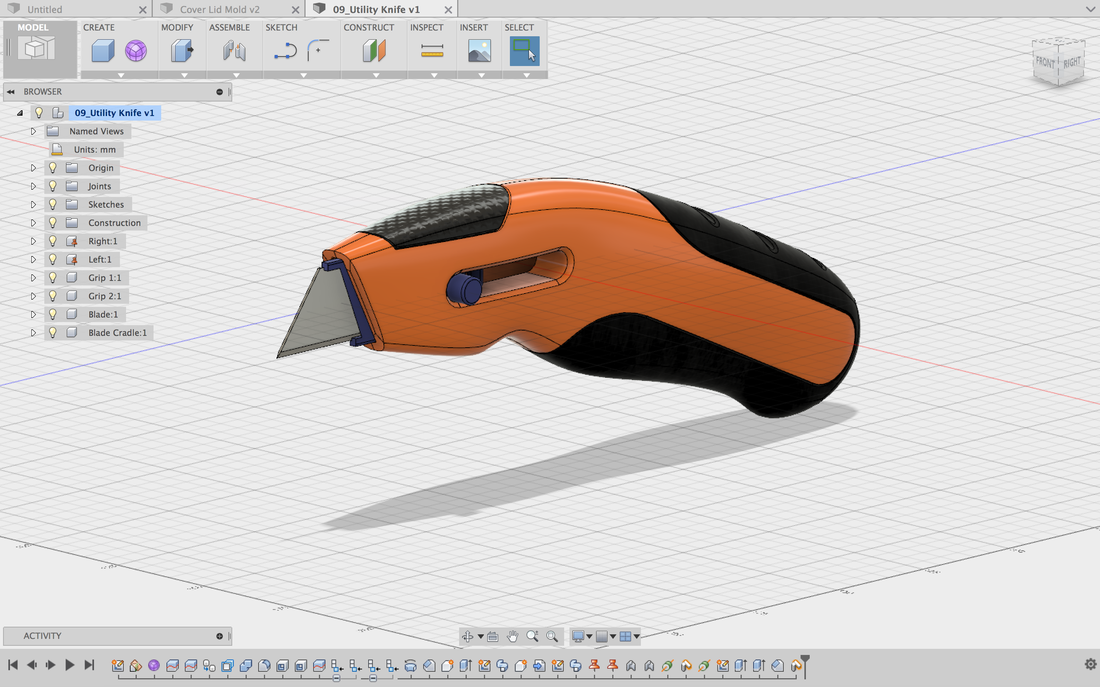 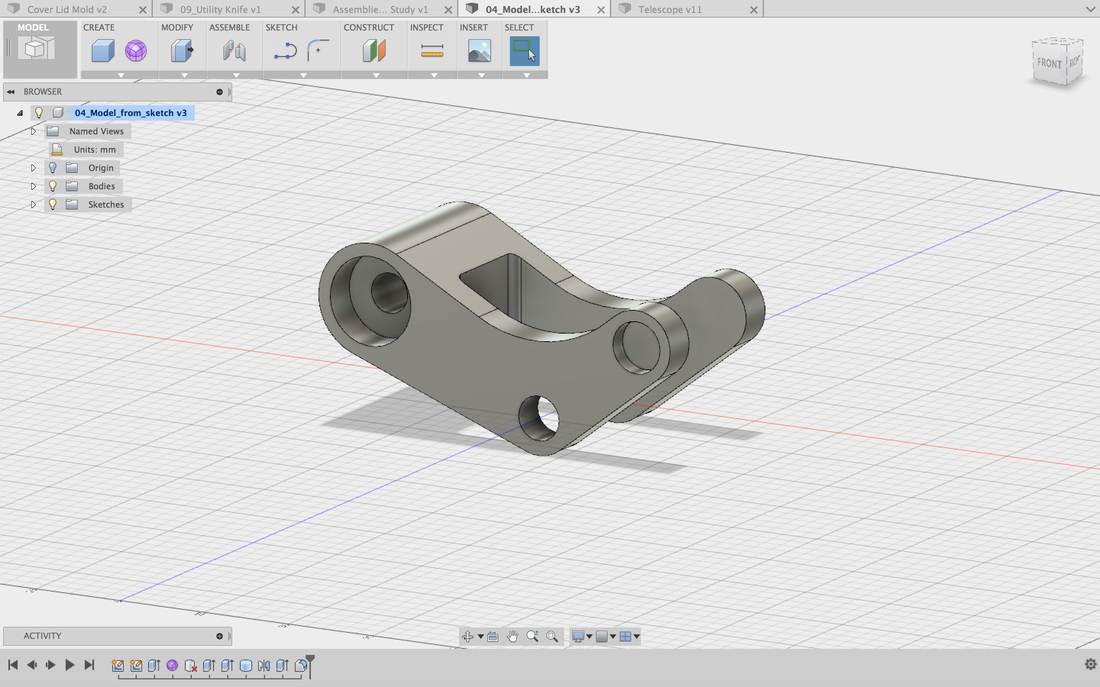 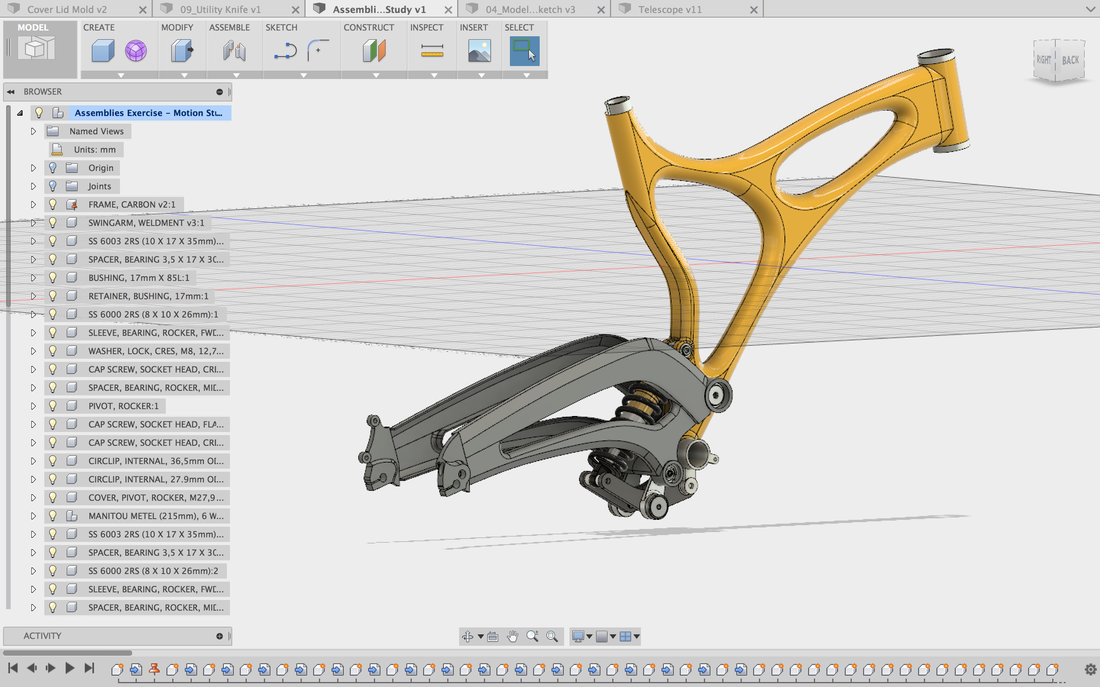 |
 RSS Feed
